

Skirting boards are among the most accessible home improvement projects for enthusiastic DIYers. Unlike structural renovations requiring specialist expertise, installing and finishing skirting boards demands primarily precision, patience and the right materials. Modern skirting options from suppliers like Skirting King now come pre-finished or raw, enabling homeowners to match existing décor or create entirely new colour schemes. With proper planning and execution, even first-time improvers can achieve professional results that rival hired installations, transforming ordinary room bases into refined architectural features.
Planning Your Skirting Project
Before purchasing materials, accurate measurement is essential. Run a measuring tape along every wall base, accounting for doorways, corners and alcoves. Sketch a rough room plan noting where you’ll cut angles and joins. Calculate total linear metres required, adding 10 percent for waste and testing. Modern skirting comes in various standard lengths, typically 2.4m to 4.2m, allowing strategic placement of joins at less visible corners. Skirting King stocks multiple profile heights and materials, enabling you to select products matching both your aesthetic preferences and installation skill level. Review installation videos and guides before purchasing to understand the techniques required for your chosen material type.
Essential Tools and Materials for DIY Installation
Successful skirting installation requires specific tools a quality mitring saw or sliding compound mitre saw for precise 45-degree angle cuts; a stud finder to locate wall fixings; a spirit level for perfectly horizontal runs; and a good-quality adhesive suitable for your skirting material. Whether installing timber, MDF or PVC, each demands slightly different fixing approaches. Timber traditionally requires screwing into wooden wall plates; MDF works well with adhesive and occasional nailing; PVC may use pre-drilled fixings or mechanical supports. Proper tool investment saves time and ensures clean, accurate cuts, critical for joints that meet seamlessly and appear professional. Many DIY retailers rent specialist equipment, making expensive tools accessible without ownership, dramatically reducing project costs.
Mastering Mitred Corners

Corner mitring represents the biggest technical hurdle in skirting installation. A 45-degree mitre creates the illusion of continuous profile turning the corner, essential for high-quality finishes. Precision requires a quality mitre saw with accurate angle settings and securely clamped skirting during cutting. Practice cuts on scrap material before attempting walls; the angle must be exact or joints will gap visibly. Skirting King supplies also include optional pre-mitred corner pieces for less confident installers, eliminating this technical requirement entirely. Whether using traditional mitres or pre-made corners, taking time over this detail separates amateur from professional results, making it worth investing extra effort and precision.
Fixing and Securing Skirting Boards
Reliable fixing prevents movement, gaps and squeaking over years of seasonal wood expansion and contraction. For timber skirting, screwing into wooden wall plates (structural timber built into walls) provides the strongest hold; locate these with a stud finder or knock test. MDF skirting responds well to construction adhesive combined with occasional mechanical fixings; adhesive alone may gradually fail under weight and movement. PVC requires specific mechanical fixings to plastic expansion plugs, as adhesive can eventually degrade. Space fixings at approximately 600mm intervals for horizontal stability. Use appropriate fasteners, brass screws for timber prevent corrosion; galvanised fixings protect MDF in humid environments. Overdriving screws crushes material and creates damage; mark screw positions lightly in pencil before installation, then back out and fill if overdone.
Custom Finishing Techniques
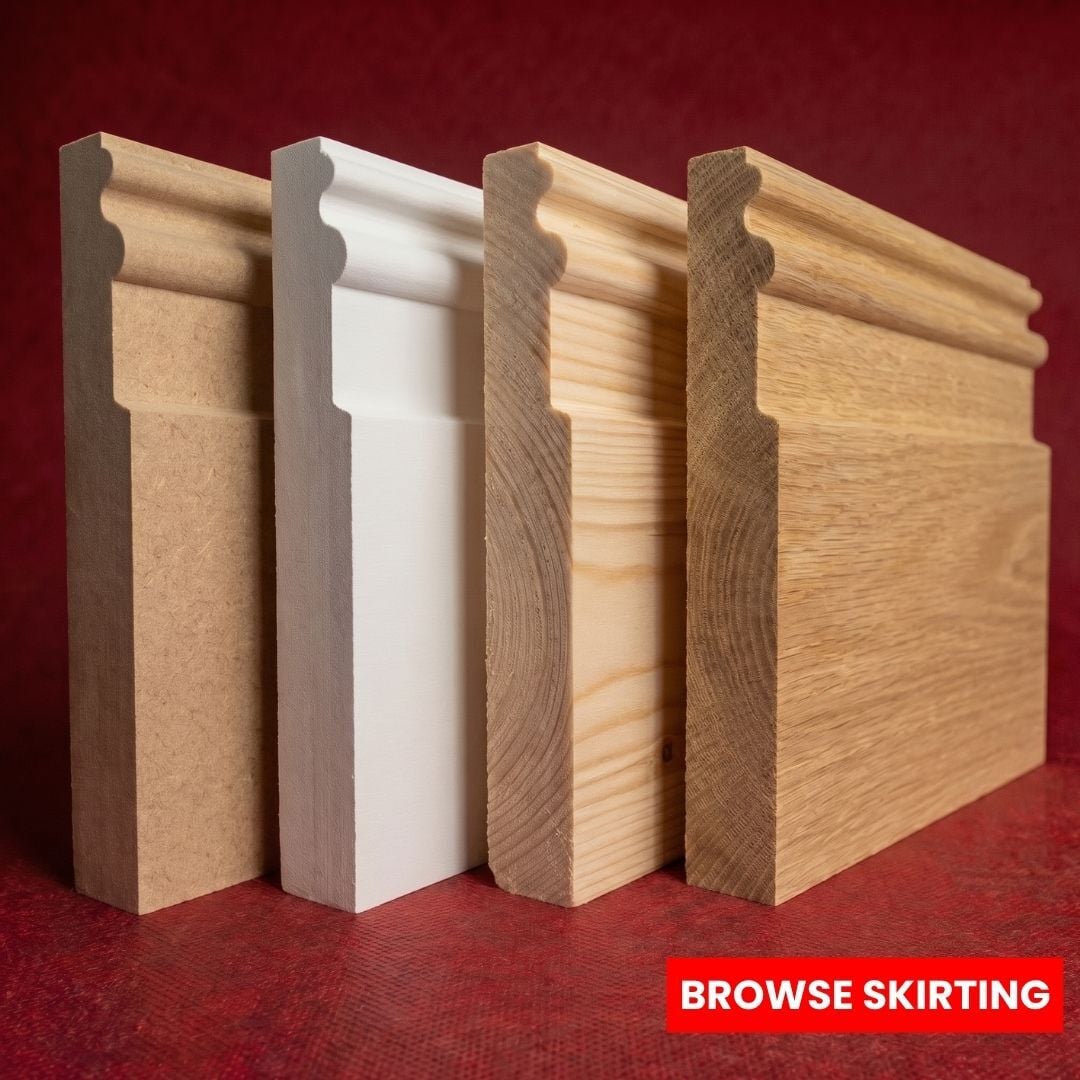
- Timber skirting accepts stain, varnish or paint with equal success; test finishes on offcuts before committing to full runs.
- Priming MDF before painting prevents absorption and ensures even finish; use thick primer designed for porous surfaces.
- Paint application requires patient preparation with clean surfaces, filled nail holes and light sanding between coats.
- Two-tone effects emerge by painting skirting differently from walls, creating visual interest and clear room definition.
- Staining raw timber reveals natural grain while offering protection; multiple coats build depth and richness over time.
Dealing with Obstacles and Complications

Real walls present challenges absent from perfect diagrams uneven surfaces, unexpected obstacles and tricky corners requiring creative solutions. Slightly uneven walls require spacer shims behind skirting to maintain level runs visible from room centre without obvious tilting. Pipes and cables sometimes hide behind walls requiring careful drilling and cautious routing around them to prevent damage. Older properties may have plaster walls lacking wooden bases, demanding specialist fixings for plasterboard and masonry that adapt skirting installation to these situations. Professional suppliers like Skirting King provide guidance on material selection for common complications, helping DIYers select approaches appropriate for their walls. Accepting that perfection may prove impossible on compromised walls prevents frustration and allows graceful completion of the project.
Finishing Touches and Quality Assessment
Once fixed, fill any screw holes or imperfections with appropriate filler (timber filler for stained finishes, flexible filler for painted surfaces). Sand smooth after drying, then paint or stain to match surrounding work. Check all joints for gaps; small gaps under 2mm accept paintable caulk, while larger ones suggest re-cutting or repositioning. Allow adequate drying time between construction and final finishing, at least 24 hours for adhesives and several days for paint or varnish. Finally, inspect skirting from across the room; most minor imperfections invisible at close range matter less than overall alignment and finish quality. Stepping back and appraising your work honestly indicates whether additional work improves results or merely introduces errors. Skirting King supplies throughout the project ensure materials match from start to finish, delivering cohesive, professional-looking installations achievable through patience and careful technique.